[ Page 1 ]


Mitsubishi F-2 in 1/72 scale: modelling report
page 2


The
Mitsubishi
F-2 fighter from Japan always had my attention as an interesting
aircraft
with its F-16 resemblance and nice colours. Designed as a multirole
fighter in the FS-X program it was manufactured by Mitsubishi
Heavy Industries and Lockheed
Martin bringing in F-16 experience for the Japan Air Self-Defense
Force (JASDF), with a 60/40 split in manufacturing between Japan and the United
States. The basis of the F-2's design is the F-16C Block 40. Production
started in 1996 and the first aircraft entered service in 2000. It took
quite some time before all problems were solved and the first F-2
entered service by 2008, with a total of 98 airframes produced. It was
an incredible expensive project but it was also aimed to advance Japans
military aircraft design and manufacturing capability. Many F-2 jets
are currently flown by the JASDF.


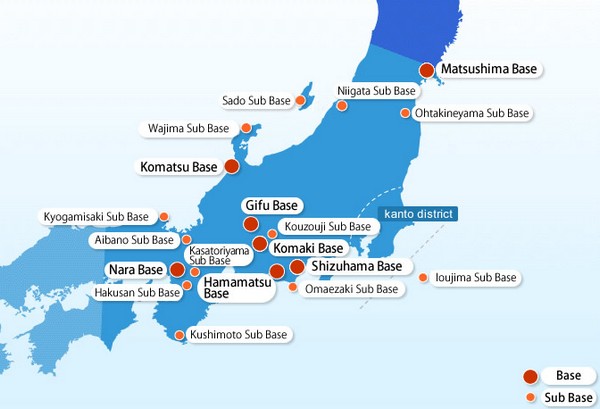
Kanto / Tokyo:

The models presented here are 1/72
Interested in a half scratch built Mitsubishi F-2A in 1/32 scale? ... look here...

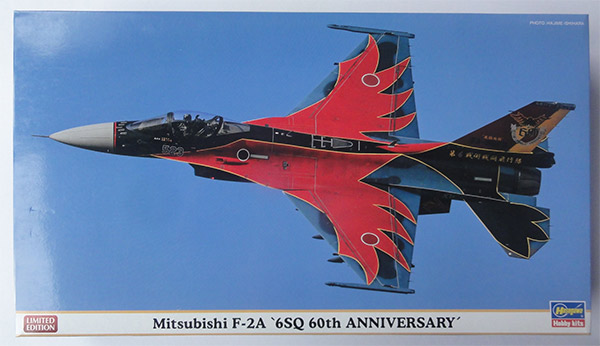
Hasegawa F-2A kit #02331 in 1/72 has markings for 6 squadron 60th anniversary as seen at Tsuiki air base in August 2019. The scheme is very nice but with the decals only this scheme can be made.

Parts in grey typical hard Hasegawa plastic which are quite common in all Hasegawa kits.....


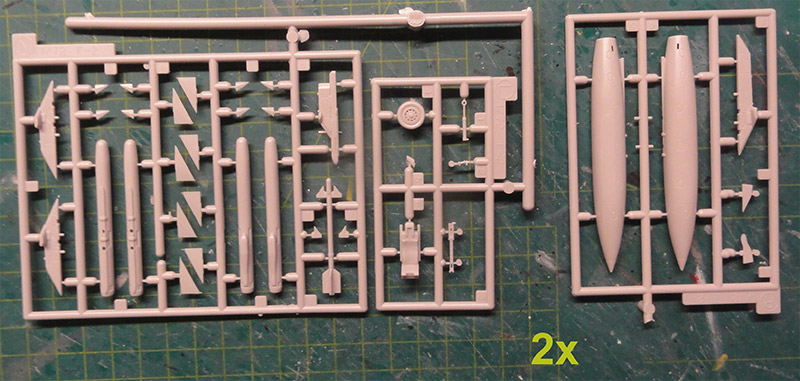
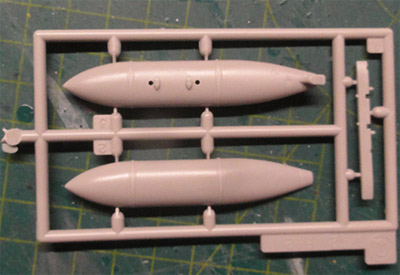

The decals in kit #02331 for the single F-2A scheme include the red areas with yellow edges....
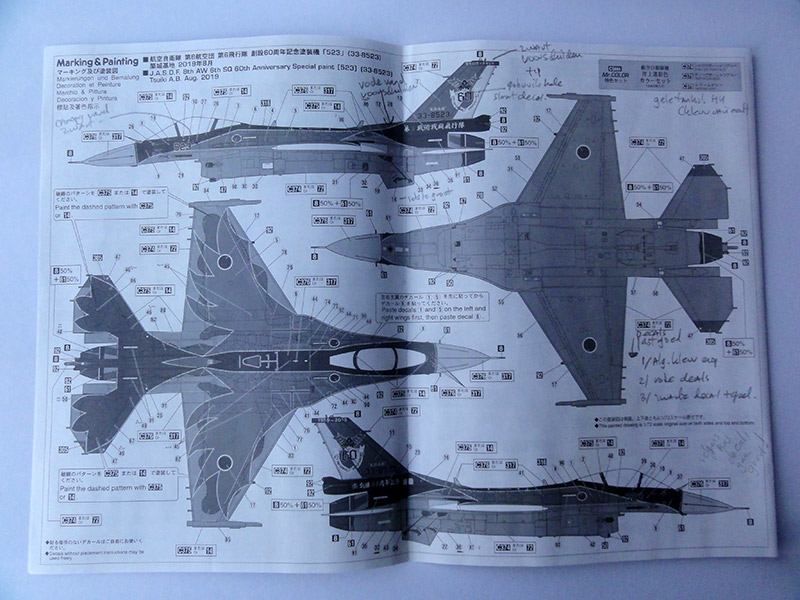

These decals really look good and later on proved to be accurate and have correct sizes.
This Hasegawa F-2A kit was made rather straight out of the box. Join the single seater F-2A forward fuselage part #E1 carefully with the rear fuselage part #A8 to avoid "a step".


Clamps were used...


Some putty and sanding was needed....


After main assembly had been done, the kit was airbrushed a base grey coat with thinned Revell Aqua 75 steingrau.
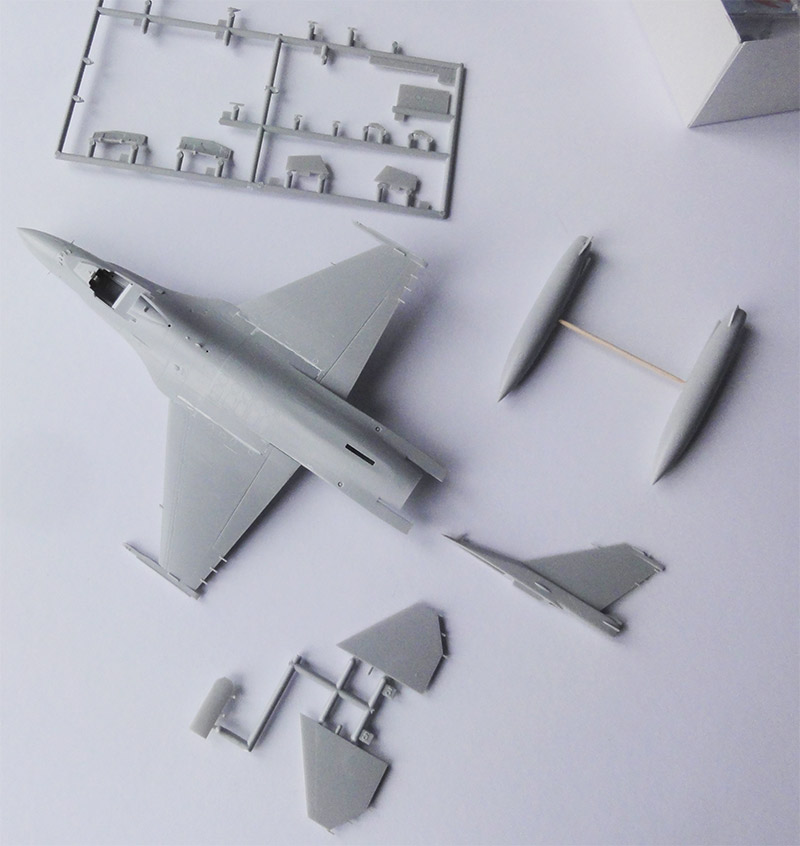
Please note that the tail areas and vertical tail are not yet installed to make airbrushing easier and setting the marking decals later on. The insides' of gear doors were airbrushed white as well as gear struts and gear braces.
The common JASDF F-2 camouflage scheme has various blue colours. For many years, these modern JASDF colours were not readily available in paints.
Until later, Gunze Sangyo Mr.Color "C..." lacquer paints were released. These paints are also indicated in the later released Hasegawa kit instructions:
- most surfaces and fuel tanks: Gunze Sangyo Mr.Color lacquer paint "shallow blue" GS C374 first overall...
and than followed by...
- upper camouflage pattern: Gunze Sangyo Mr.Color lacquer paint "deep ocean blue" GS C375; this was airbrushed with masks. Also mask the lower frame of the main canopy and airbrush this.
(Alternatives for the lacquers are suggested as well with Gunze Sangyo Mr.Hobby acrylics as follows: "shallow blue "H62 and "deep ocean blue" H14 ).
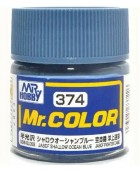
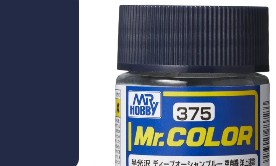
I was able to get the Gunze Sangyo Mr.Color lacquer paints in my local hobby shop. The paints were airbrushed but I used another airbrush I had dedicated for lacquer paint airbrushing: the HANSA double action airbrush.
Wear a face mask, lacquer paint fumes are harmful for your health. Ventilate!

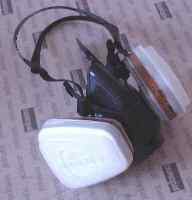

Paper masks were used as well as masking tape using the Hasegawa kit instructions as guide.
Also airbrush the outsides' of doors, pylons and wing pylons shallow blue. The insides doors are white.
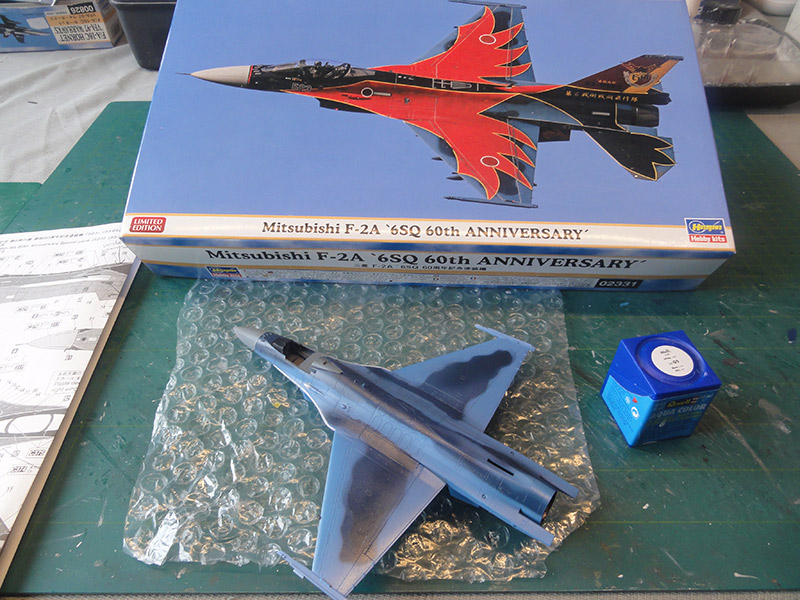
The red markings are supplied as decals in this kit. But I hand painted for the particular scheme the leading edge of the wing-nose edges first white followed by Gunze Sangyo Mr.Hobby acrylic yellow H4. This will make the decal less sensitive to fit exact.

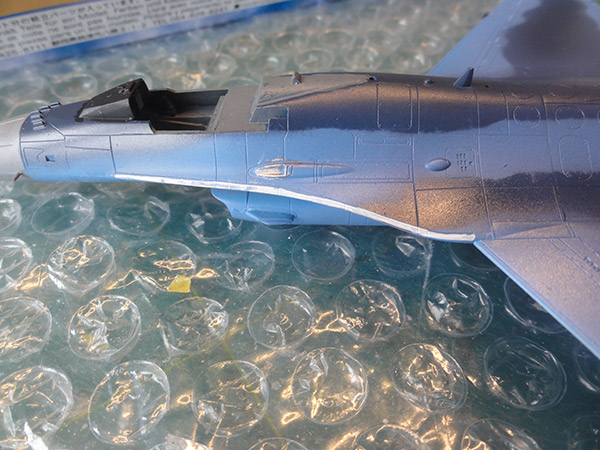
The large under wing external fuel tanks for this scheme are overall Gunze Sangyo Mr.Hobby H4 as well.
Paint the radar nose radome C376 grey or FS36320. The wing tip missile rails FS36118 as well as the tip panels of the horizontal stabilizers.
The upper front nose at the cockpit was carefully masked looking at the forward decals with yellow edge and airbrushed black. (sorry, forgot to make a photo).

The cockpit interior was than brush painted FS36231 with Gunze Sangyo Mr.Hobby H317 acrylic. The gear bays were brush painted white and all main colours had now been applied.
Before starting decalling first....


... to avoid any "silvering" (that spoils decal appearance), the model got a gloss varnish of Johnson Future/ Pledge applied with a wide brush. Normally I airbrush this varnish but my modelling friend Bas suggested a brush as the model is not that big and you really have to apply many decals.
So using a dust free brush it was.... apply a few coats, let dry in between application and avoid "drops".
The Hasegawa kit decals were applied, start with the large red wing decals @45 and than followed by the spine decal @6. Align all with also the wing-nose edges.
The various walk way lines than follow along with the many stencils were set over the red decals. Decalling needs patience and took some 6 hours to apply.
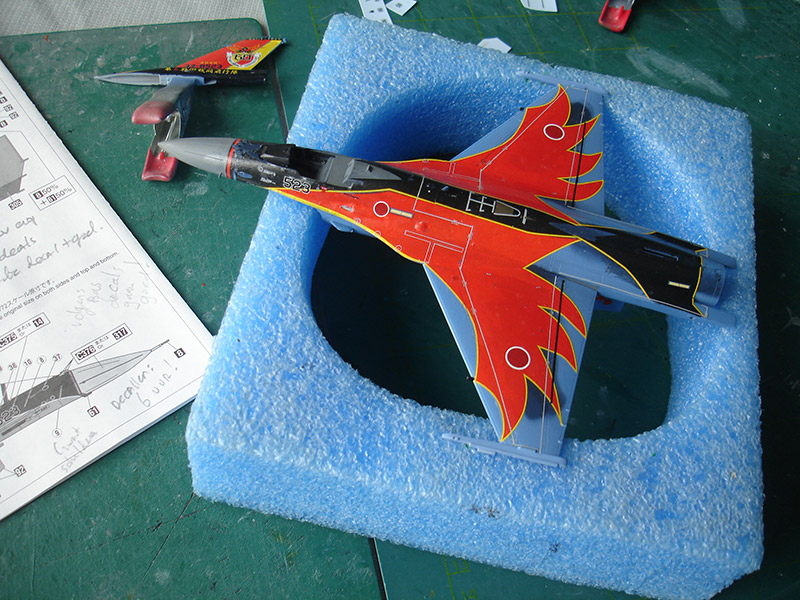
The low visibility lights are yellow decals but very small and I choose to paint these Revell Aqua 12 "gelb" yellow with a fine brush instead.
After decalling, the landing gears and doors were installed as per kit. A few extra details were added such as in starboard main bay what looks to be a battery pack painted steel and a pressure bottle at starboard painted silver. The gear doors were fitted but needed a bit trimming the lugs.
For the instrument panels decals are provided and these were set inside the cockpit. The kit ejection seat was painted in black with grey launch rails and seat pack in green. I also added harnass made from slices of tape. The HUD was installed and the wind screen after its frames had been hand painted black. I used white glue to fix the wind screen and any small gaps smoothed.
The main canopy also got the frames hand painted in black and a small mirror was set in the central canopy front edge/ frame.

The small side pitot as well as the nose tip pitot were tipped with a chrome marker and all installed.
The fuselage spine antennes were brush painted FS36231 and the anti-collision lights red at port and blue at starboard. Various smaller antenna tips are black such as the leading edge "cans".
Finally a semi-gloss varnish was airbrushed through the usual technique.

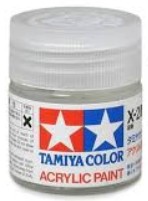
So the model now got a few end coats of semi-mat varnish with Johnson Future/ Pledge thinned with 5% Gunze Mr.Color leveling thinner and 5% Tamiya matting X-21 agent added.
Some armament was installed: ASM-1 with radar seeker and an ASM-1 with camera seeker. These are not provided in the kit but came from the Japanese weapons sets of Hasegawa (or use sets from FineMolds).
Static dischargers were added at tips of wing (2x3), stabilizers (2x3) and vertical tail (3), made from flexible EZ-line. Fix with superglue. (or use thin black stretched sprue bits).

Canopy frames were painted inside dark grey and inside the front frame a mirror was added from scrap metal bit. The canopy was set open and that completed this nice F-2A model.


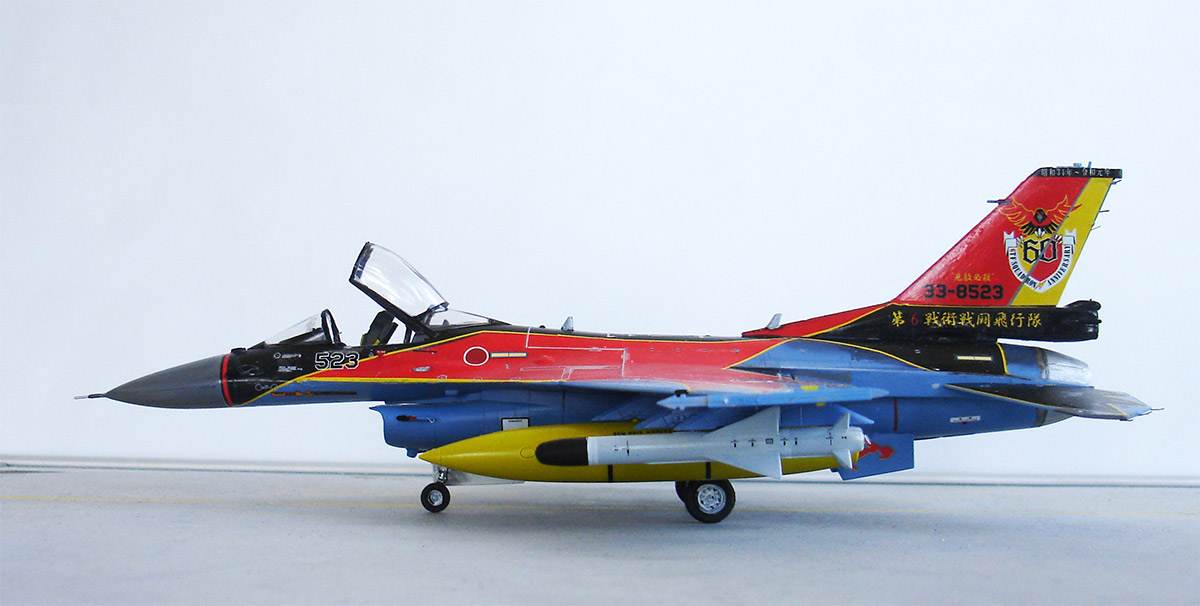

... set in scenery at Tsuiki base....

Another 1/72 Hasegawa F-2A kit was made. Kit #02320 has markings for JASDF no. 3 squadron as seen at Misawa in 2019.


For the markings it was decided to use these on a Finemolds F-2A kit I also had. To be made in the future.
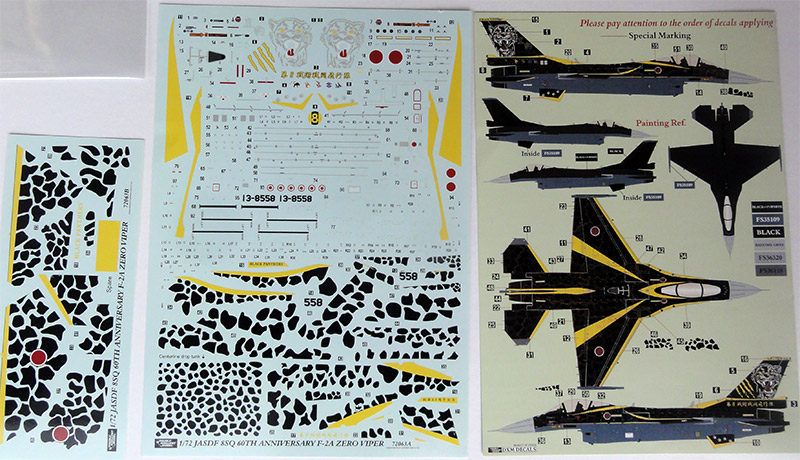
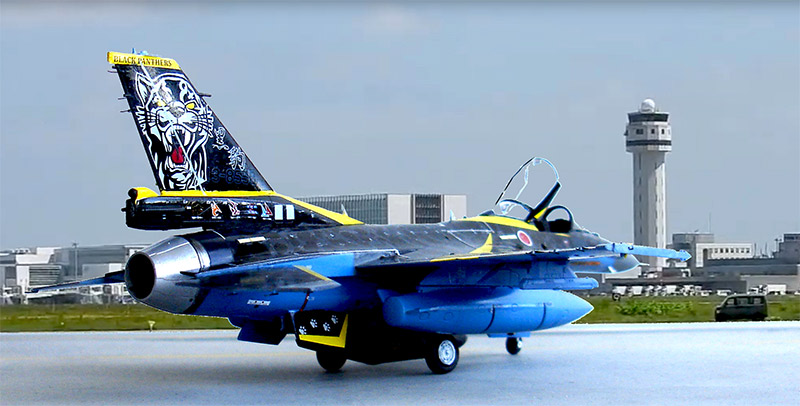
For this 1/72 Hasegawa F-2A model an after market decals set was purchased from DXM. This is an excellent Japanese decal brand and set 51-7264 has special markings for F-2A jet VIPER ZERO with very dark-black with black panther spots on the upper surfaces. This scheme was for the JASDF no.8 squadron 60 years anniversary in 2020.

Main kit assembly was done as described above for the first Hasegawa F-2A made.
Again the vertical tail and stabilizers were not yet installed yet during main assembly.
After main assembly, model surfaces got the standard JASDF ocean blue colour C374 of the camouflage scheme as well as the wing pylons and gear doors.
Masking was done and than followed on the upper areas and vertical tail and the central fuel tank a mix of 95% black Gunze Sangyo Mr.Hobby black H1 and 5% white H2. This is suggested in the DXM instructions and indeed this turned out to be a good mix. The black dots are decals. Also, airbrush the vertical tail and upper stabilizer surfaces as well as the central fuel tank.
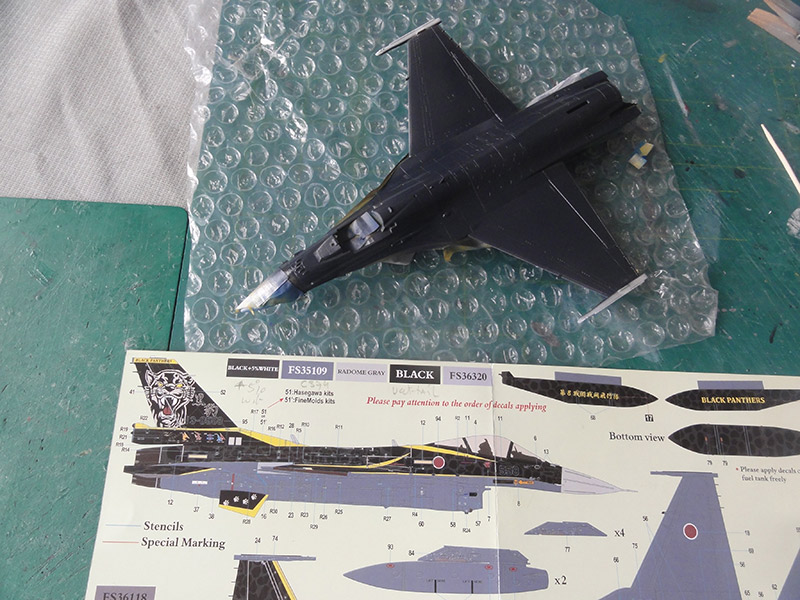
The edges of the wing-fuselage were painted white followed with Gunze Sangyo yellow H4 acrylic. This will help to get the edges with decalling precise. The radar radome is grey for which I painted FS36320. The wing tip missile rails were painted FS36118 as well as the tips of the horizontal stabilizers.

Before decalling, a gloss varnish coat was applied as described earlier with a wide brush to avoid "silvering".
Decalling takes time for this scheme, start with the instructions of DXM on their page 4 "special marking" and than as on pages 2 and 3 for the detailed decals. The central fuel tank got many separate dot decals provided.
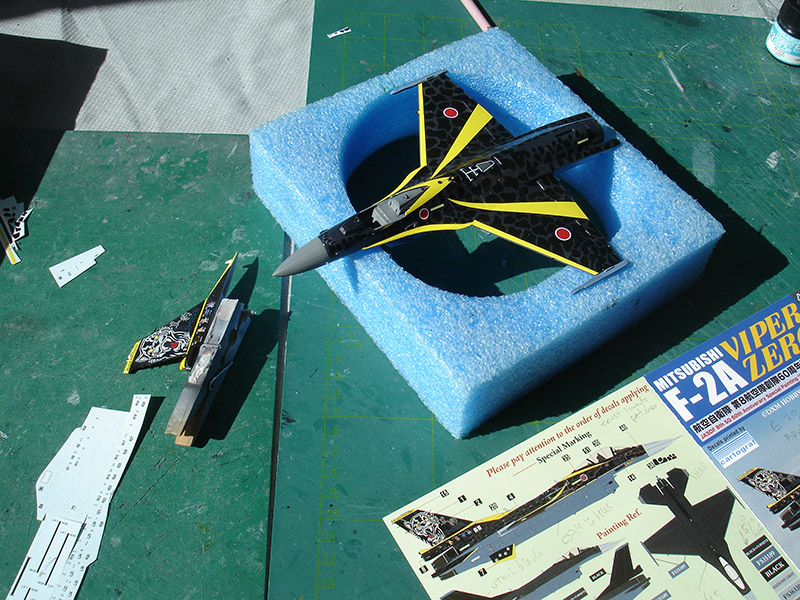
The decals of DXM are fine and the yellow ones cover very good (so not opaque). No worries here. After the main decals, set the smaller stencils and walk way lines.

For the remainder, the landing gears, doors and smaller bits were installed as described above. The canopy was also brush painted and got mirrors. All was installed.

F-2A VIPER ZERO !


... set in a scenery during a Chitose air base visit...
In the loft another old Hasegawa F-2 A/B kit #E15 was found that was released in 2003. At the time the F-2 was still not in JASDF service so the Hasegawa schemes were probably for pre-production jets.

This old 1/72 Hasegawa kit #E15 has white plastic and you have the option: make either a F-2A single seat fighter or the F-2B trainer with separate parts for the upper forward fuselage. (the option was later not provided any more in a Hasegawa F-2 kit release).

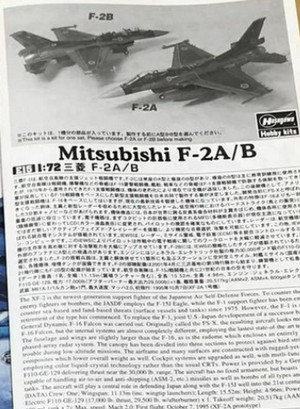
The plastic and quality is as described above as usual in Hasegawa kits with rather hard plastic. There are about 85 parts in 14 sprues including a transparant sprue. The panel lines are engraved.

As the F-2 was not yet in JASDF service when the kit was released in 2003, the decals are a bit dull with numbers and tail codes for a F-2A or F-2B. (later on, on JASDF F-2 jets spectacular markings regularly were applied as seen above).
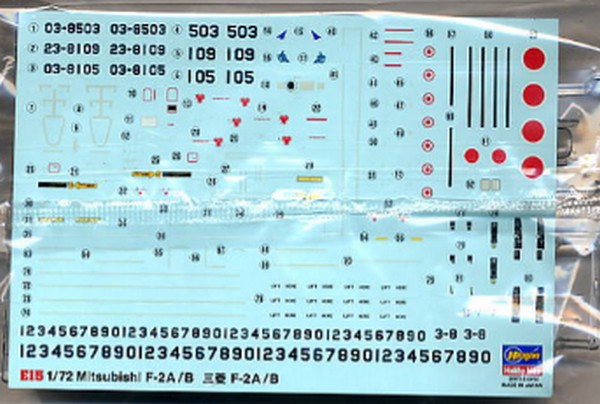
This kit #E15 remained untouched for some 20 years. As my Hasegawa kit was quite old, the kit decals have become almost unusable. They fall apart and stick to the paper.
But lucky me, I was able to buy Japanese after market decals. An excellent nice looking decals set from DXM and set 41-7112 has marking for JASDF F-2B based at Matsushima air base. I would make this model as a F-2B of the JASDF no.21 squadron on the occasion of their 50th anniversary in 2006.

The Hasegawa kit was made rather straight out of the box as F-2B. Join the two seater F-2B forward fuselage part #D1 carefully with the rear fuselage part #A8.
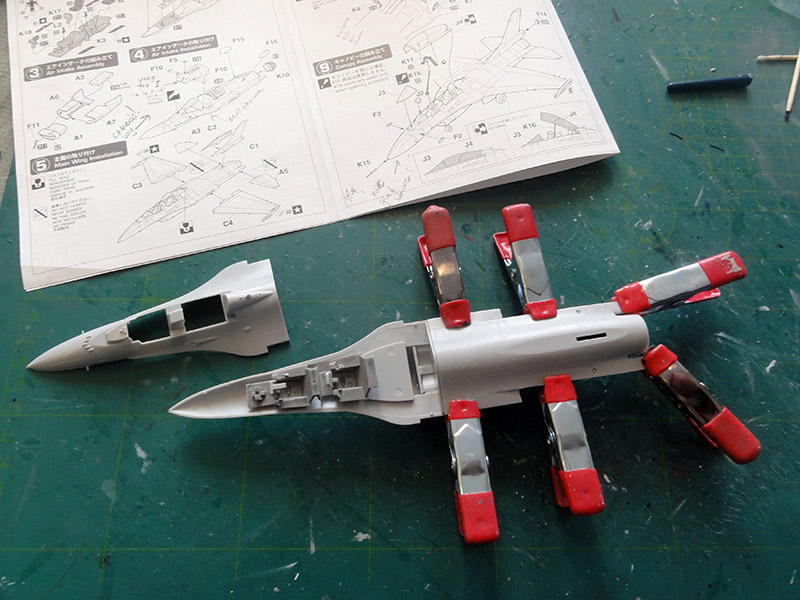

Putty was applied. But I now removed some putty applied with iso-propyl-alkohol mix with a cloth...
(a mother tip: or use NAIL POLISH REMOVER). This avoid scratches during sanding.


The remainder kit was made as described above for the F-2A as were the applied standard JASDF camouflage colours.


The standard JASDF camouflage of the F-2 was airbrushed with lacquer "C.." colours were applied as were the detail colours as described earlier.....

Decalling was to done on a glossy surface so the model got a gloss varnish coat. I now opted to apply the coat with a wide brush. Applying the DXM decals is easy but takes time.
Landing gears were set without any issues with some extra details.
The various pylons were installed and the wing fuel tanks. The central fuel tank is black for this scheme.

The remainder of the model was made as described above. And it got a semi gloss end varnish coat airbrushed.


F-2B of the JASDF no.21 squadron on the occasion of their 50th anniversary in 2006.


Another 1/72 Hasegawa F-2B kit #02141 was made and it has markings for an F-2B of the 8th Air Wing for the 60th year celebration. This two seater jet was seen at Tsuiki Air Base in November 2014.

The model was made in a similar way as described above. It has the JASDF F-2 camouflage scheme, details here...
Setting the excellent kit decals took aboiut 3 hours.

The smaller details were set as described above on the other made kits.


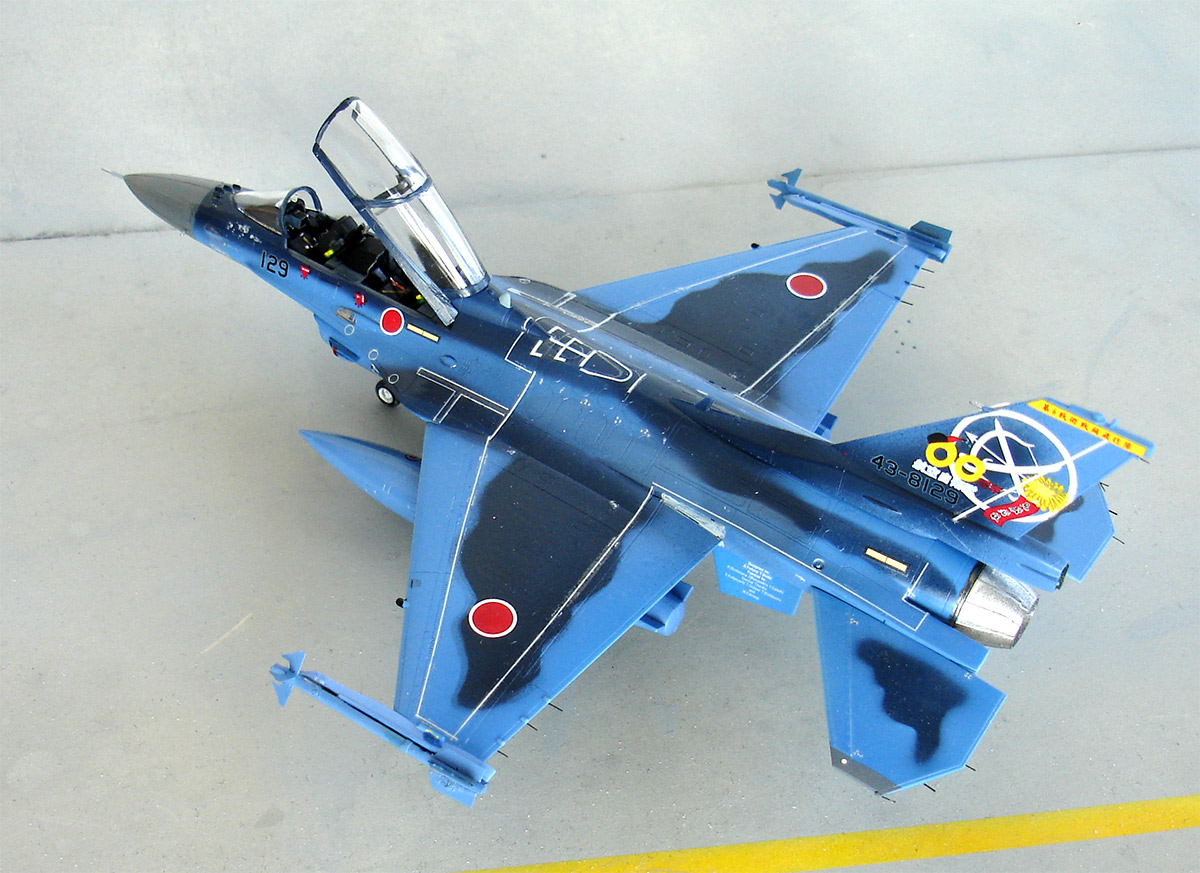

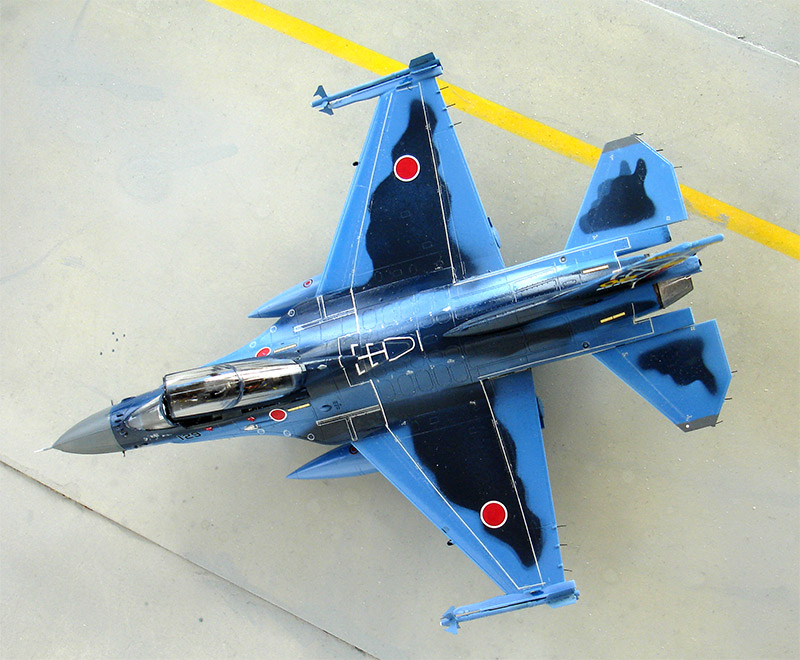
Set in a scenery at Tsuiki air base, Kyushu, Japan....

On to next [ Page 2... ]
References:
- F-15, F-2, F-4, F-35, japanese book

Web:
- JASDF info: https://www.mod.go.jp/asdf/en/gallery/F-2A/
- Wiki: https://en.wikipedia.org/wiki/Mitsubishi_F-2
Back to 1/72 jet models

(c) Copyright "designer"/ All rights reserved. Your comments are welcomed by webmaster
Created this page July 12, 2026